
Stylist Guide › Section 2: Colour & Visual Impact › Rule #50
Trims are the frame of every photo in your listing. If the frames don't match, the whole house looks unfinished.
The rule in one minute. Paint skirting boards, architraves, window frames and internal doors in one colour and one sheen throughout the home, usually a white that matches or sits close to the ceiling. Matching trims make walls look crisp and rooms look finished; three different whites, yellowed old gloss and scuffed doors make a home look tired in photos. Clean or touch up before you repaint, and repaint only what won't clean.
Why trims matter more than they look
- They're in every shot. Skirting runs along the bottom of every wall. Architraves frame every door. Window frames frame every view.
- They draw lines. A crisp white line between wall and floor makes the room's shape easy to read.
- They show age first. Old gloss trims can yellow over the years, especially in rooms with little daylight. Next to fresh white walls, they look stained.
- Doors are big. An internal door is one of the largest flat surfaces in a room after the walls. A scuffed door is a large scuffed rectangle in the photo.
Should doors and trims be the same colour?
Yes, in most homes: doors, architraves, skirting and window frames in one colour and one sheen. It's the cleanest, most consistent look and the easiest to keep touched up. The exception is a deliberate contrast, like black doors or stained timber in a period home, used the same way in every room.
The Trim Check
Walk every room with a sheet of white printer paper and a damp cloth.
- Compare the whites. Hold the paper against a skirting board, a door and a window frame. Do they all look the same? Yellow, grey or cream next to each other means mismatched paint.
- Check the sheen. Look along each surface at a low angle. Some glossy, some flat? That reads as patchy in photos.
- Wipe a test patch. Many marks on doors and skirting come off with a damp cloth and a little mild detergent. Clean first; paint only what's left.
- Look at hand height. Around door handles and light switches is where marks build up.
- Look at foot height. Skirting near the vacuum's path, the kids' shoes and the dog's bowl.
- Check the door edges. The leading edge of each door is the most chipped part of the house.
- Make a list: rooms where a clean is enough, and doors or runs of skirting that need paint.
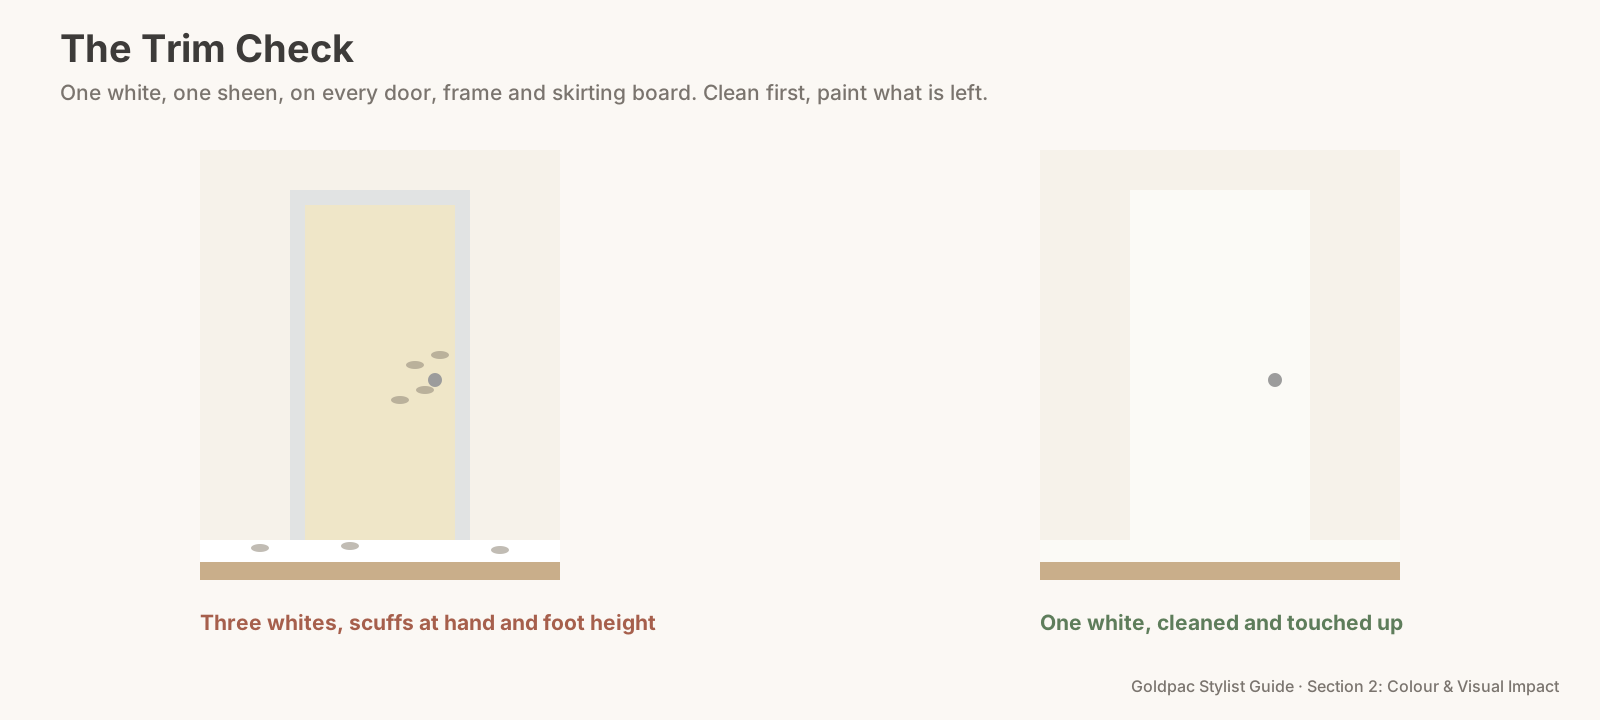
The Trim Check: one white, one sheen, on every door, frame and skirting board, cleaned first and painted only where cleaning fails.
Time and effort
- Cleaning trims in one room: about 15–20 minutes.
- Touching up scuffs: about 5 minutes per mark, plus drying.
- Repainting one internal door, both faces, two coats: a few hours of work spread across a day for drying.
- Repainting all trims in a typical home: a weekend or more, or a painter's job.
Plan painting at least a week before photos so the smell has cleared and nothing is still tacky.
Do this Sunday
Pick the three doors a buyer sees first: front door from inside, the main living room door, the main bedroom door. Clean both faces, the edges and the frames. Look at them with the lights on. If they still look tired, those are the three to repaint first.
The objection: "Contrast trims are a design feature"
They can be. Black doors in a modern home, stained timber in a Federation house, a soft grey trim in a Hamptons-style renovation. They work when they're deliberate and consistent, every door and every frame in the same finish.
What doesn't work is accidental contrast: the white you used in 2015, the white the previous owner used in 2008, and a new white in the bathroom from last year, all side by side.
The blind spot: you stopped seeing the scuffs
Marks on doors build up slowly. One fingerprint at a time, one bump from a vacuum, one trolley through a door frame. You never see a single moment where the door went from clean to marked.
The photographer's flash and a buyer's first glance see it all at once. Look at each door as if you'd never seen it, and with the lights on.
What if…
You can't repaint before the photos. Clean everything and touch up only the worst marks with matching paint. Clean and slightly mismatched beats painted and still drying.
The doors are stained timber in a period home. Keep them. Clean, oil or polish them, and make sure every one is in the same condition. Painted-over period joinery can disappoint buyers looking for character.
You're renting. Clean only. Ask your agent or landlord before any paint touches the trims.
FAQ
What sheen should trims and doors be? Most homes use a semi-gloss or gloss enamel on trims and doors because it's tougher and easier to clean than wall paint. Whatever you choose, use one sheen throughout. Check the paint maker's guidance for your surfaces.
Trims are the detail you stop seeing first. A Photo Ready Consultation checks every door, frame and skirting board and tells you what needs a clean and what needs paint, in a written room-by-room plan within 48 hours of the visit. We tell you what to do; you or your painter do it. Want the whole home styled once the paint is dry? Photo Ready Styling means our stylist styles your rooms with your own furniture before the photos. See current prices.
Keep reading: Rule #46: Beige, cream, grey and white are the universal base tones (the four base tones) · Rule #43: Black adds contrast and polish when used sparingly (using black as a line) · Rule #53: Match door hardware to the furniture finishes (matching metal finishes)
◀ Previous: Rule #49: Change tones gradually from room to room · Section 2 contents · Next: Rule #51: Pair cool greys with blues and warm greys with beige ▶
Part of the Goldpac Stylist Guide: 220+ home staging rules from Goldpac's Sydney styling team.